A tear in your top leather jacket creates an immediate concern. Don’t panic—you can fix it! We will guide you on how to tackle all issues regarding your beloved jacket, including tears, scuffing and regular wear. The following repair instructions will show you how to restore your damaged jacket.
Fixing Rips or Tears
Step 1: Get a Leather Patch
-
First, measure the tear and then cut a leather sub-patch, which should be slightly larger than the tear.
-
Taking time to round the edges ensures smooth integration with the rest of the material.
Step 2: Insert the Patch
-
Feed the patch underneath the tear through the use of tweezers.
-
Spread the leather until all wrinkles disappear.
Step 3: Apply Leather Glue
-
Place leather adhesive on the patch before you place it under the torn leather section.
-
After applying the edges of the material together, you need to maintain pressure for 30 seconds.
-
Let it dry for 24 hours.
Fixing Scuffs and Scratches
Step 1: Apply Leather Filler
-
Place a tiny volume of leather filler onto the damaged area.
-
A plastic knife or spatula should be used to flatten the surface.
Step 2: Buff It Out
-
An electrostatic fabric mitt or brush completes the blending of filler material into leather jackets by using 220+ grit sandpaper.
-
Buff in small circular motions.
Step 3: Apply Leather Dye
-
Apply matched leather dye onto either a sponge or a cloth.
-
Let the applied substance dry for one hour, but you may need additional applications.
Best Glue for Leather Repairs
-
Apply leather/vinyl glue for permanent flexible connections.
-
Avoid fabric glue—it won’t last.
-
Superglue helps with small leather repairs, yet it lacks full functionality. Your Leather Jacket Needs Restoration
Step 1: Clean with Saddle Soap
-
Put saddle soap on a wet cloth and evenly distribute it.
-
Move your cloth evenly across the leather surface to clean it.
-
Dry it for 10-15 minutes.
Step 2: Condition the Leather
-
Use a soft cloth to spread a light layer of leather conditioning product.
-
Keep the product on the leather for 20 minutes before wiping away the surplus.
-
Applying leather conditioner protects the material from splitting while making it supple.
Best Leather Conditioner:
Put special leather clothing conditioner onto the surfaces either in spray or cream form.
Specially formulated leather products should be used to protect all leather car seats and furniture.
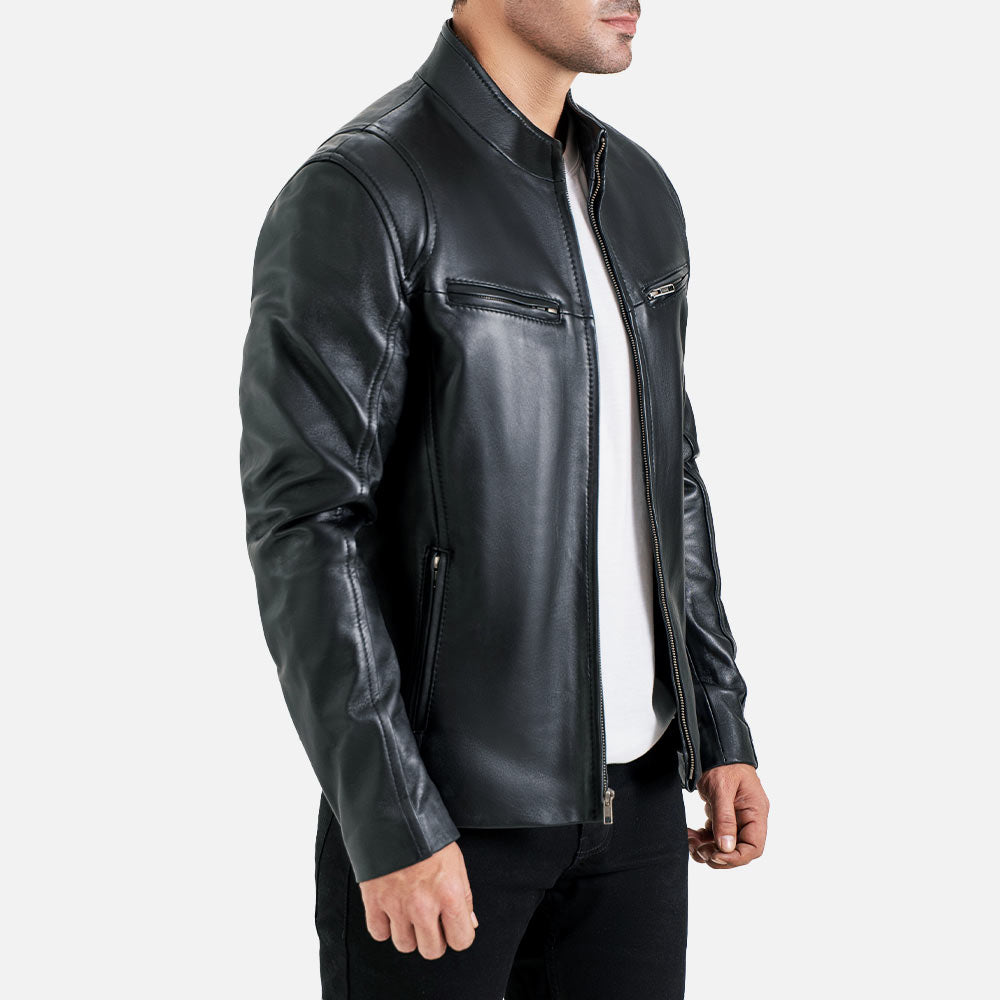
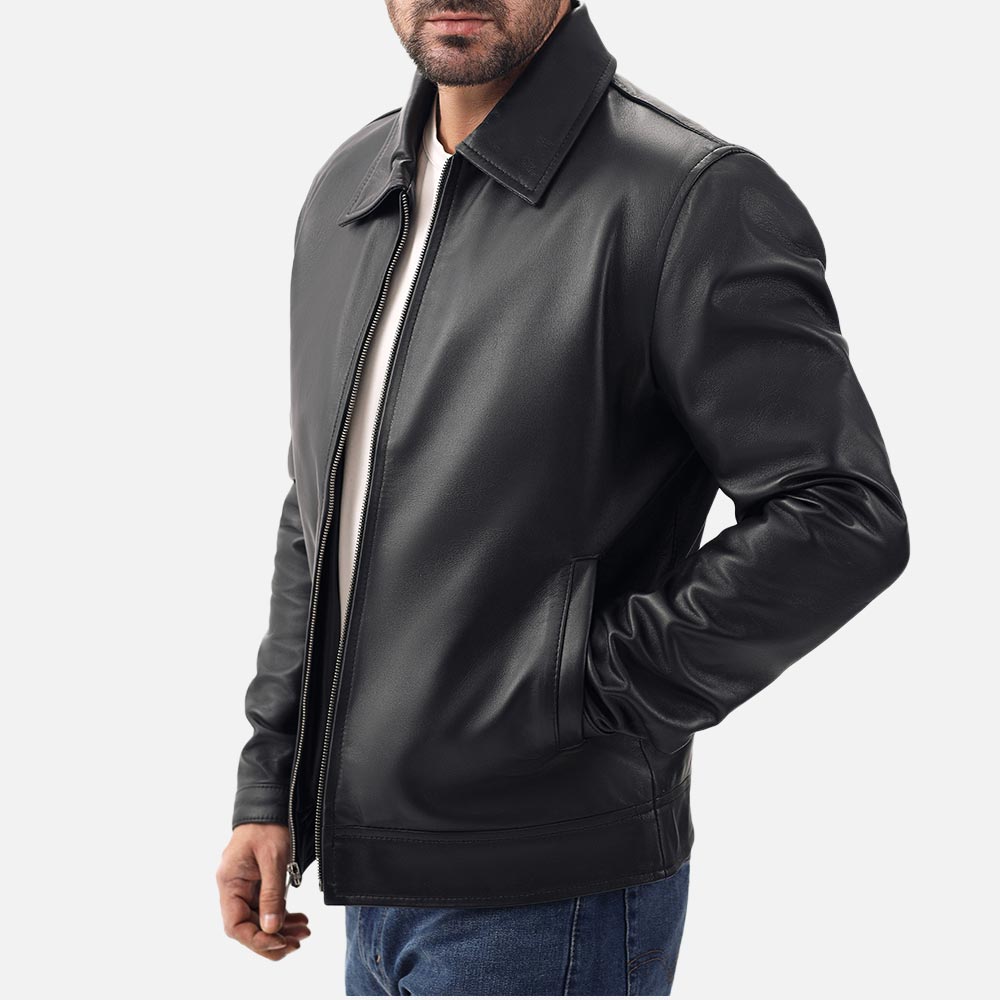
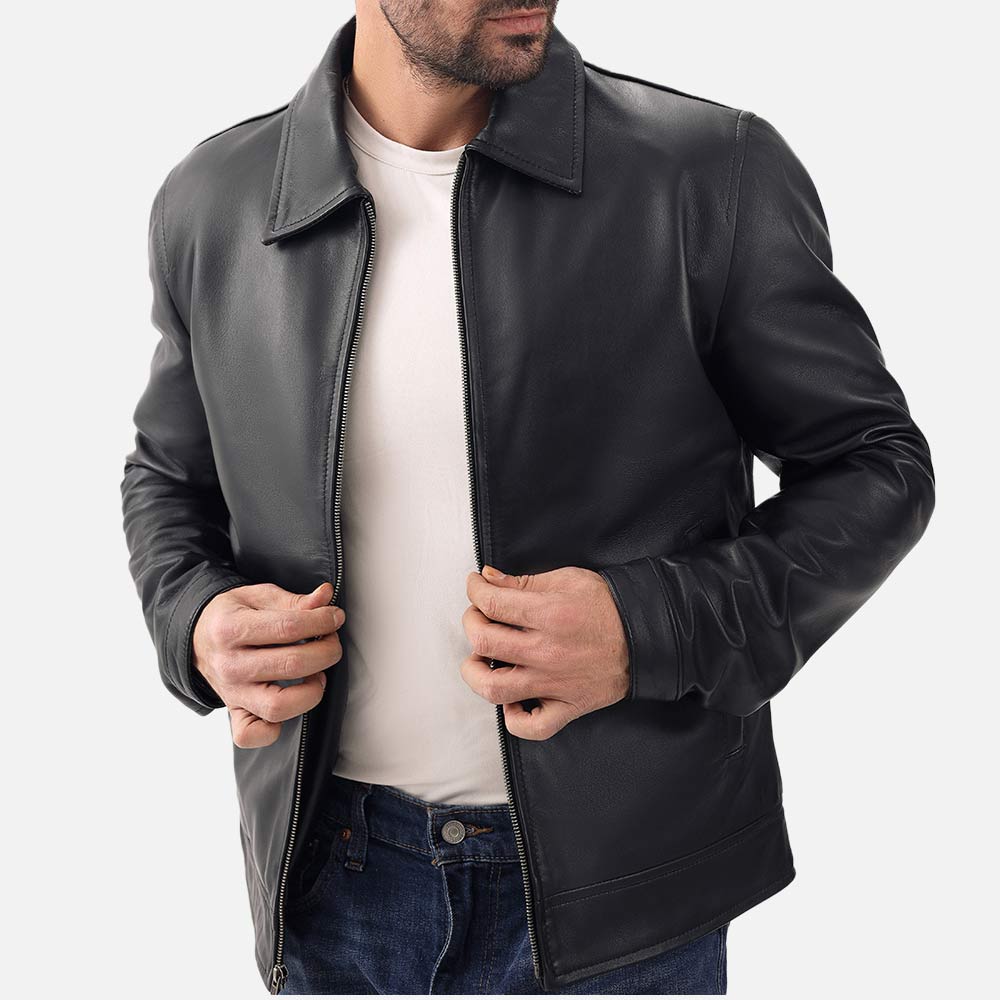
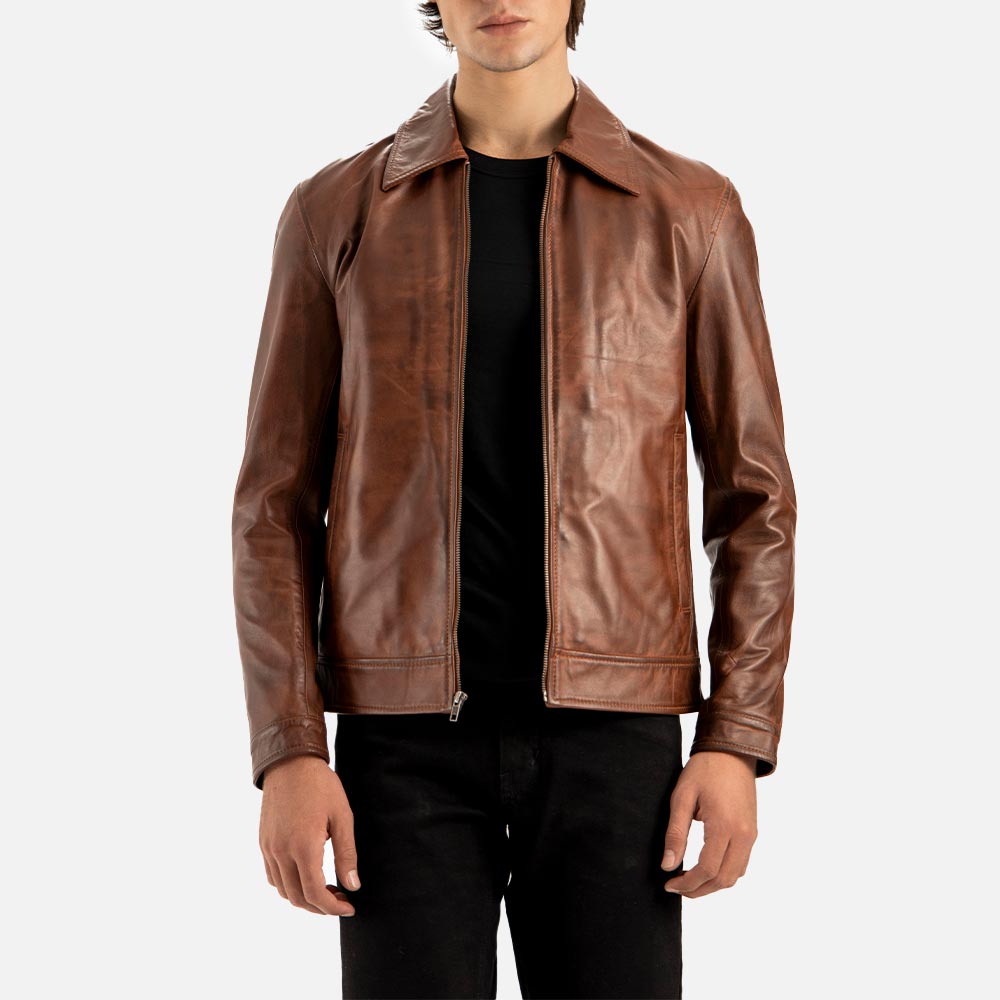
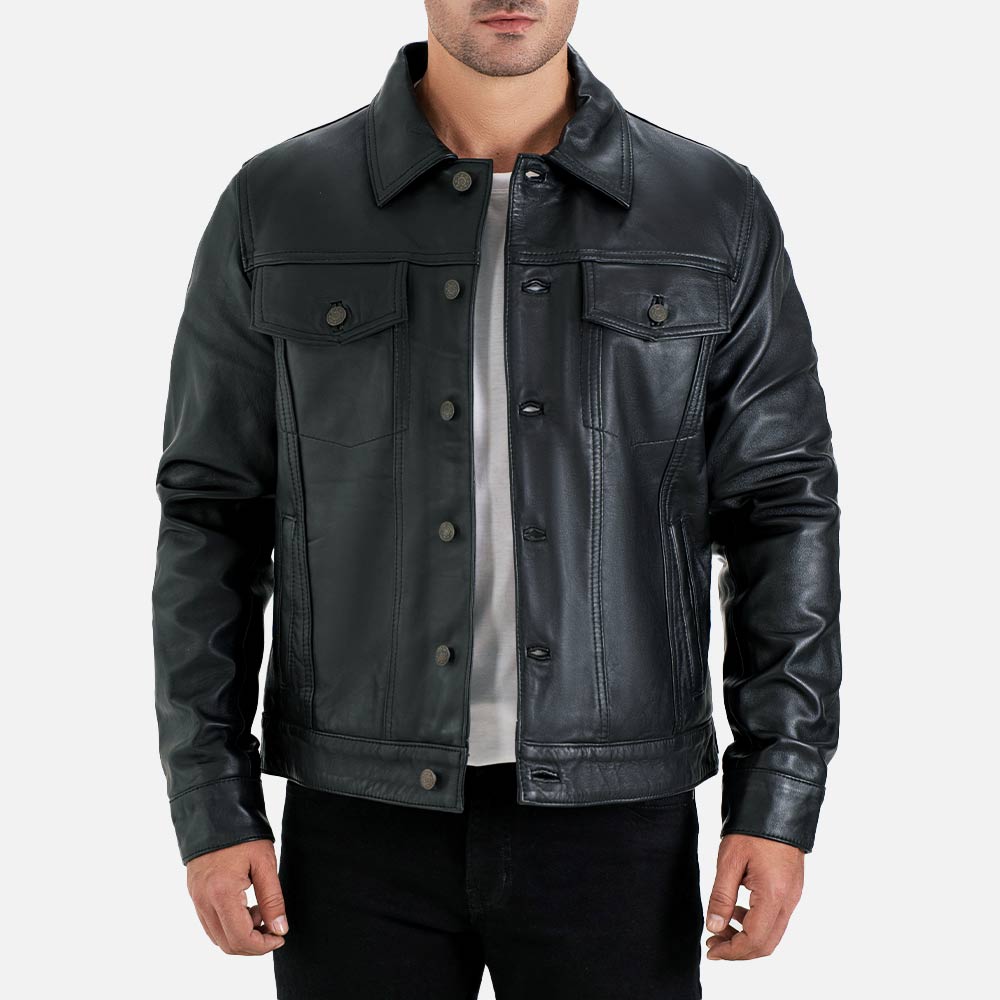
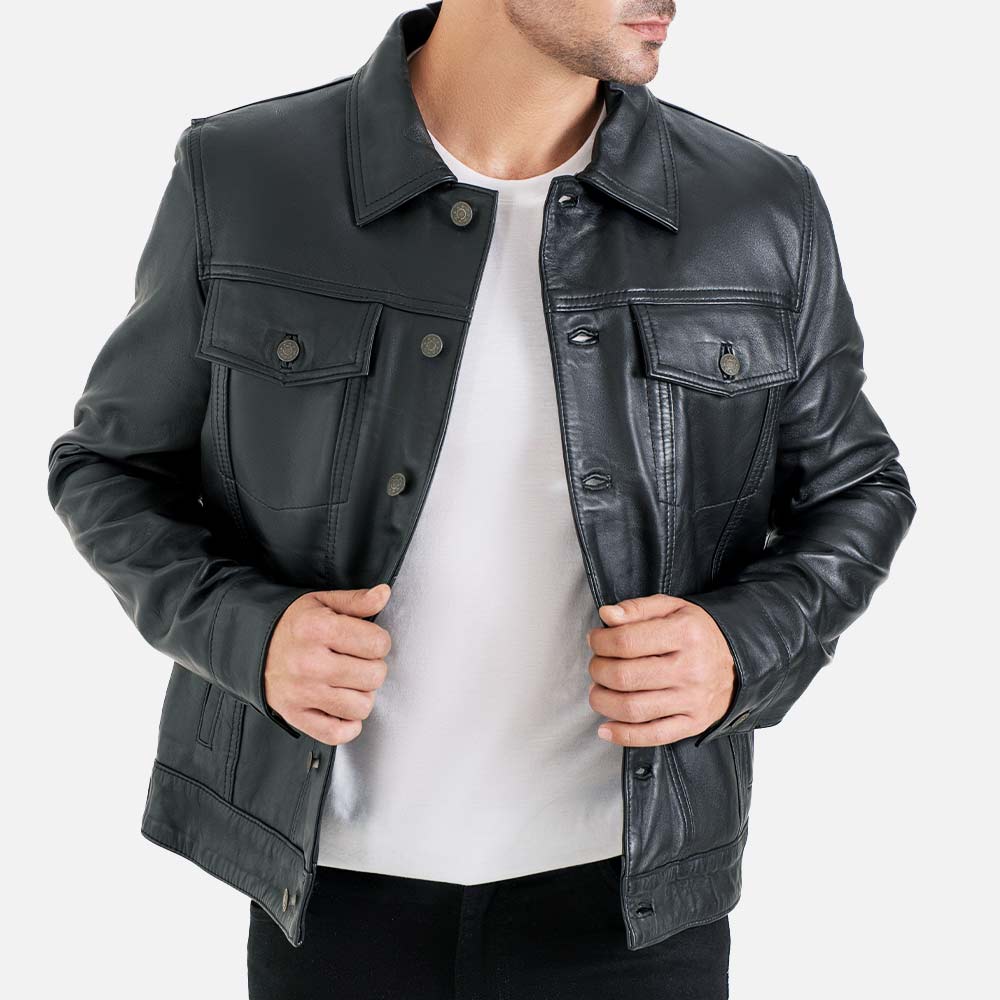
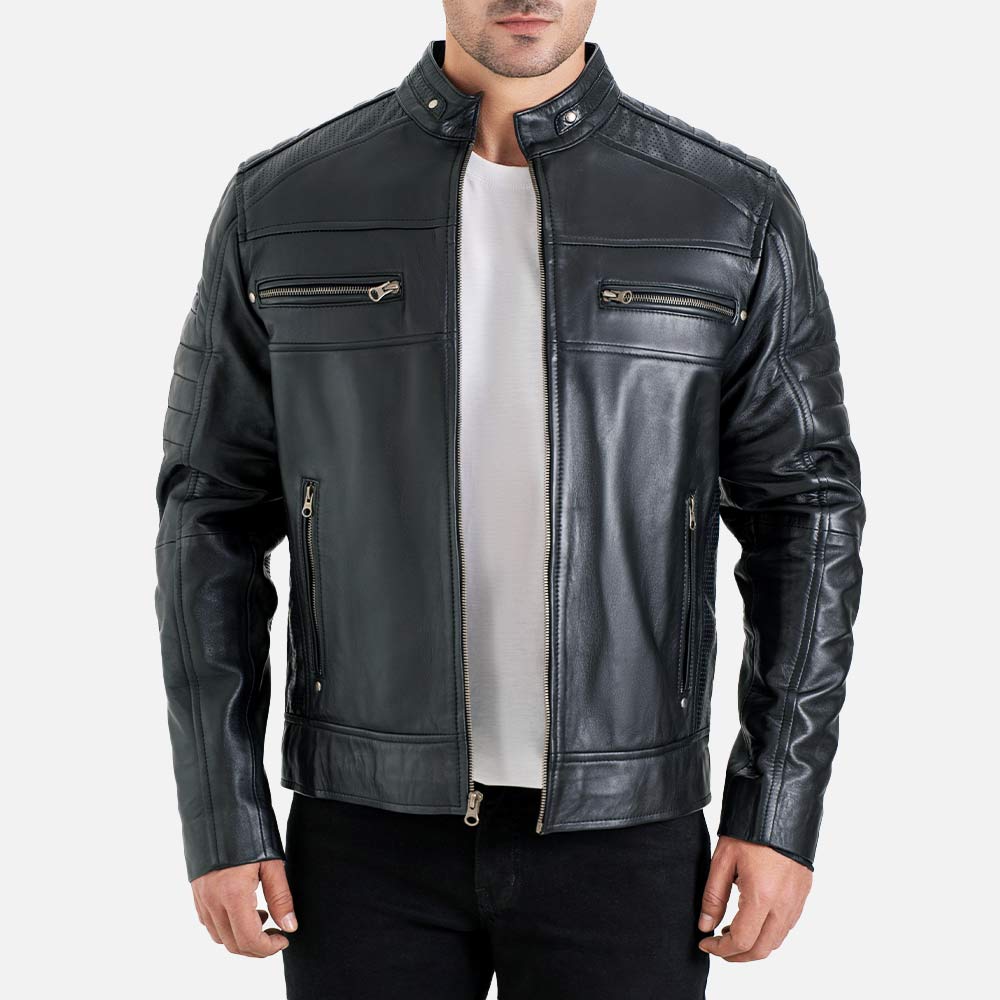
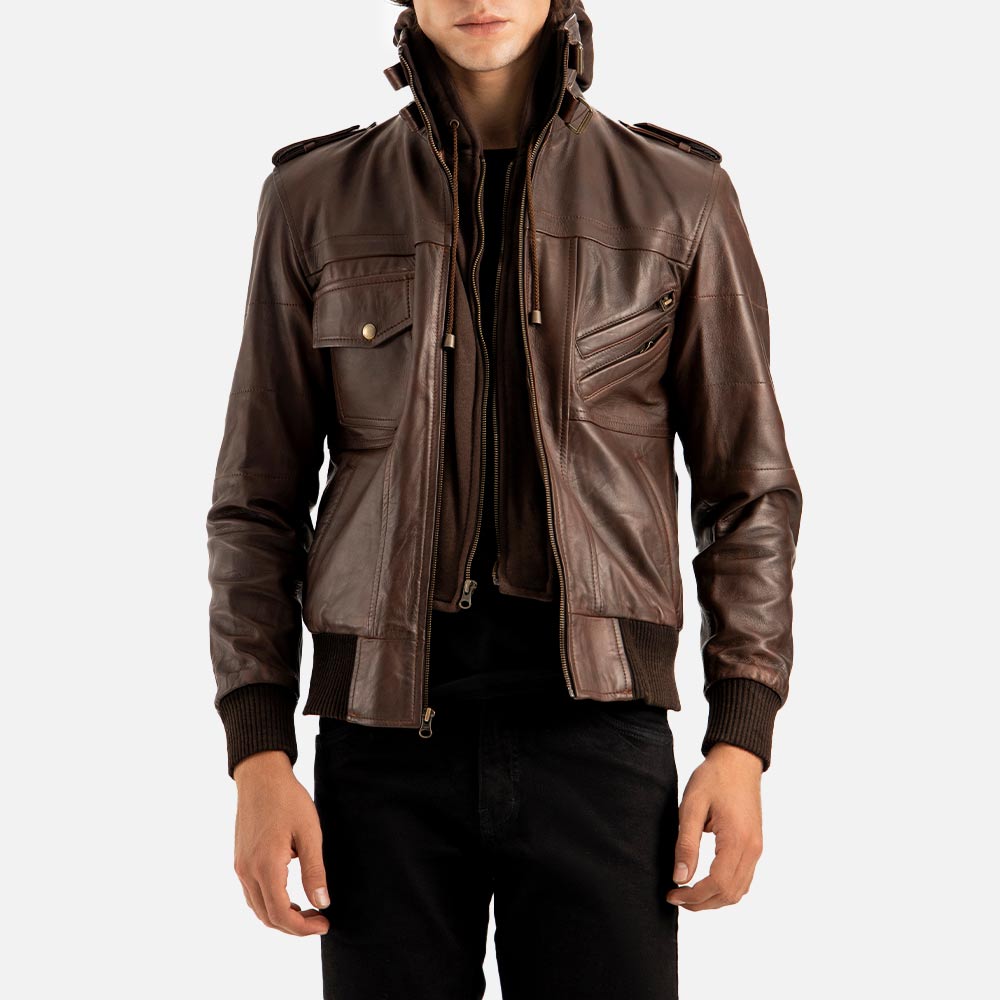
The care routine for Marco Enzolani jackets keeps them durable.
Discovering the Expense of Leather Restoration
For home leather repairs, you will spend about $20 to buy a repair kit.
A professional will charge more than $50, depending on the type and extent of leather damage.
Final thoughts
Home-based leather repairs are inexpensive and solve most of the problems effectively. Fixing a leather jacket is not a hard job if you know some basic points. Whether it’s a rip or a scuff, these easy steps will have your jacket looking brand new. And if you want a premium leather jacket that lasts, check out Marco Enzolani!
Related searches: How to Repair Scratches on a Leather Jacket











Leave a comment
This site is protected by hCaptcha and the hCaptcha Privacy Policy and Terms of Service apply.